 11
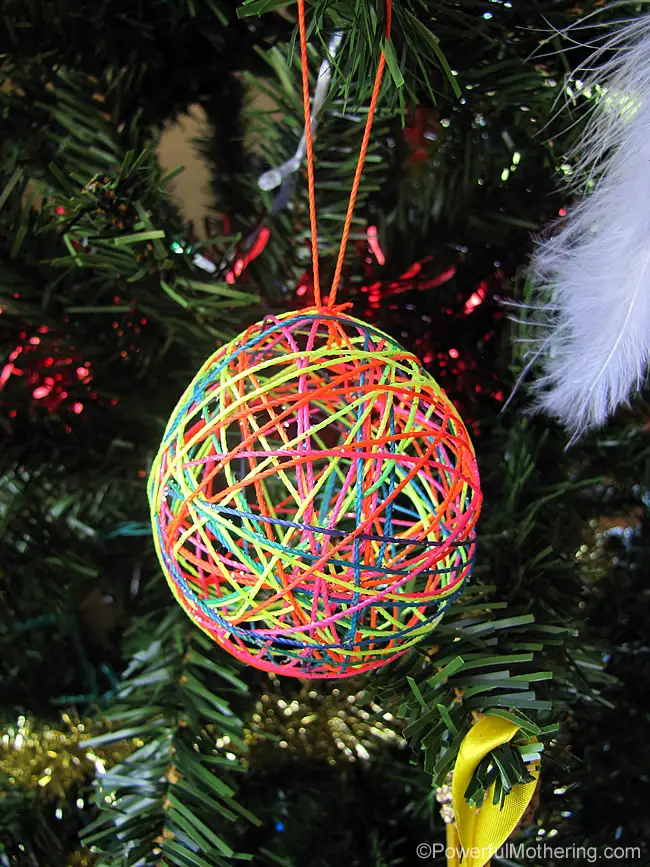
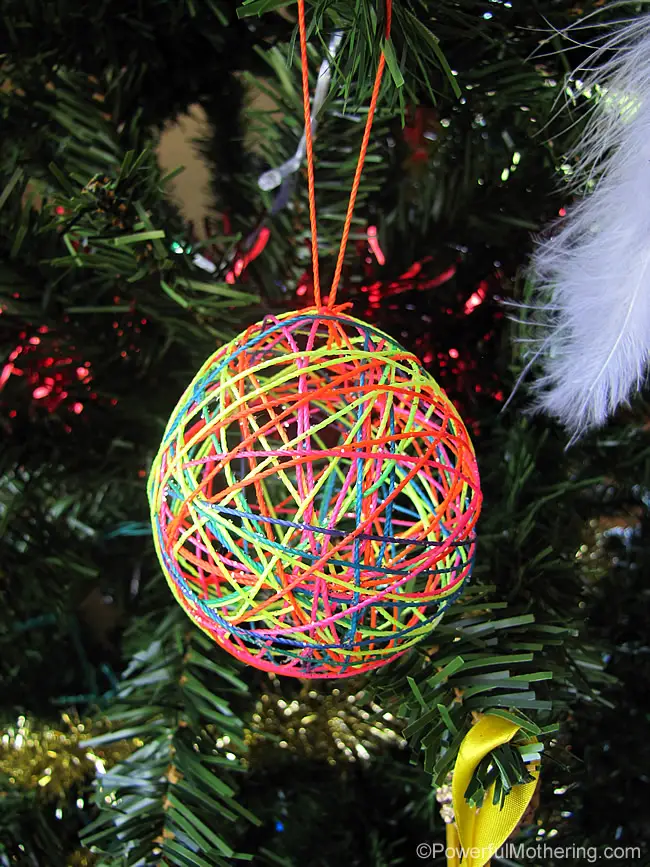
As the holiday season approaches, households around the country begin the annual tradition of decorating their living spaces, dusting off boxes of cherished mementos, and searching for fresh, creative ways to personalize their Christmas trees. In the realm of handmade holiday decor, crafting enthusiasts and parents are increasingly turning to budget-friendly, accessible materials to create unique ornaments that capture the whimsical spirit of the season. Among the latest projects capturing the attention of family crafters is a delicate yet surprisingly durable decoration: the handmade yarn and string ball ornament.
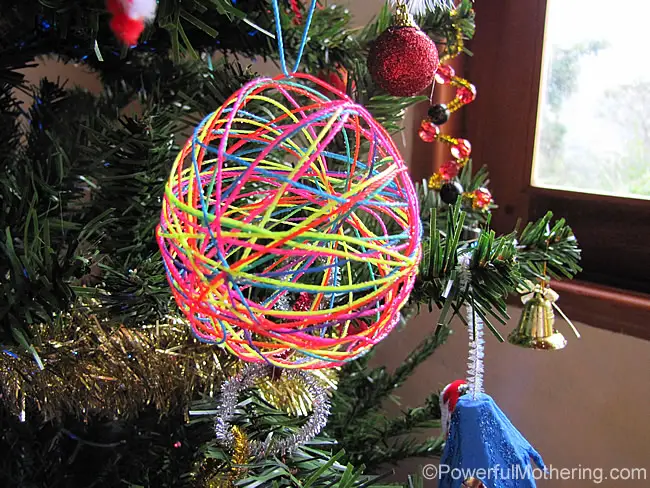
While the concept of wrapping yarn around a form is far from new in the crafting world, achieving a professional-looking, spherical result can often present unexpected hurdles. Many who attempt the project for the first time find themselves dealing with collapsed structures or string permanently fused to the inner mold. However, with a few refined techniques and a clever use of common kitchen supplies, creators are discovering that trial and error can lead to stunning results. The finished product yields a lightweight, intricate web of colorful fiber that catches the light and adds a charming, rustic touch to holiday evergreen boughs.
The project requires only a handful of basic supplies that are likely already sitting in a household craft bin or kitchen drawer. At the center of the process are small balloons, which serve as the temporary armature for the ornaments. Crafters begin by inflating the balloons until they comfortably fit within the palm of an adult hand, ensuring the finished ornaments will be appropriately proportioned for standard tree branches without weighing them down.
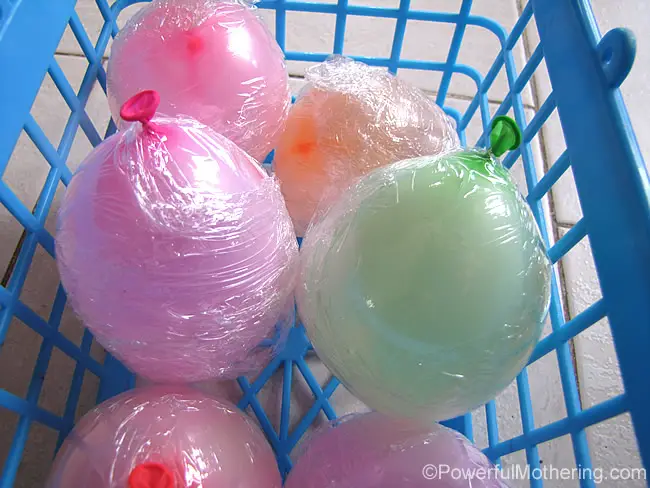
A crucial step in ensuring success—and avoiding the frustration of ruined materials—involves wrapping the inflated balloons tightly in cling plastic wrap. Experienced creators emphasize that this barrier is essential, as it prevents the adhesive mixture from bonding directly to the rubber surface of the balloon. When applying the wrap, it is important to leave the tied end of the balloon exposed, as this protruding section serves as a convenient handle and hanging point during the drying phase.
Once the armature is prepared, the focus shifts to the fibrous exterior. Crafters can select from an array of yarn or string colors, matching them to their specific holiday color palette, whether traditional reds and greens or contemporary pastels and metallics. The selected yarn is wrapped loosely or densely around the cling-wrapped balloon, creating a randomized, geometric lattice pattern that will maintain its shape once the adhesive sets.
The binding agent for the project is remarkably simple, relying on standard white school glue rather than specialized industrial resins. To achieve the ideal consistency for coating the fibers, the glue is gently mixed with water in a shallow bowl, thinning it out just enough to prevent the dried string from becoming overly stiff or brittle. For those wishing to add a touch of holiday sparkle, fine craft glitter can be whisked directly into the glue mixture before the application process begins.
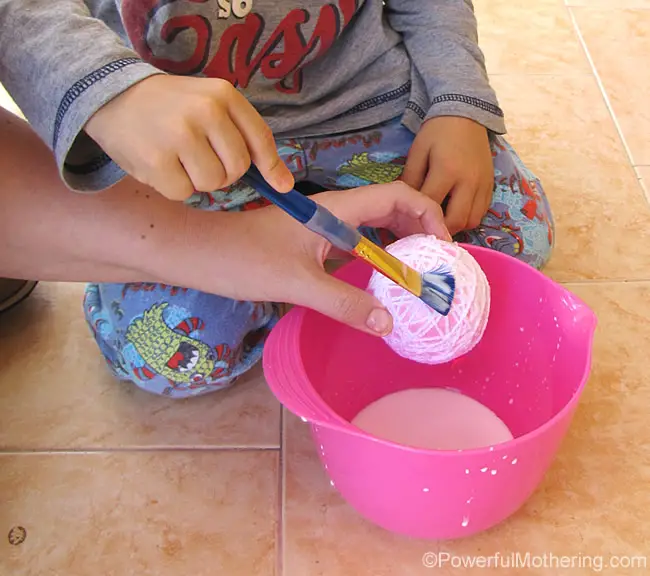
Applying the adhesive to the wrapped yarn can be approached in a few different ways, depending on personal preference and the level of mess one is willing to manage. Some crafters prefer using a small paintbrush to dab the liquid onto the fibers until thoroughly saturated, while others find success by dipping the entire wrapped form directly into the bowl. However, those who have refined the process often recommend a tactile approach, using bare hands to scoop and massage the glue mixture directly over the string to ensure every strand is thoroughly coated.
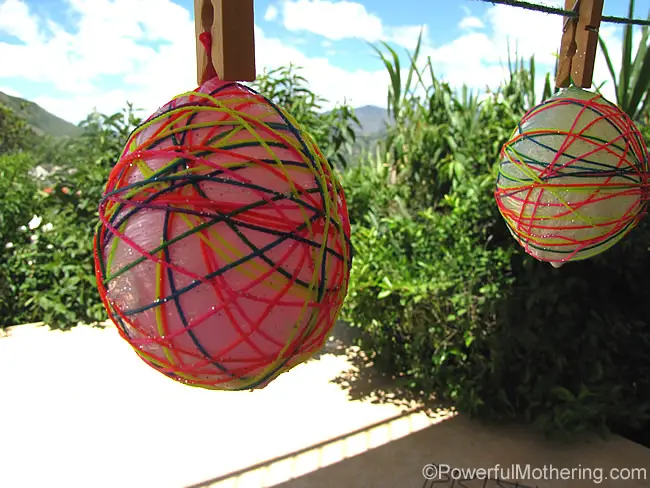
After the saturation phase, the wet ornaments transition to the drying stage. Crafters typically hang the sticky spheres along a makeshift clothesline secured with standard clothespins, placing layers of newspaper directly underneath to catch any dripping adhesive. Depending on ambient humidity and the thickness of the yarn, the ornaments require adequate time to dry completely until the web hardens into a rigid shell.
The final phase of the creation process requires patience and a delicate touch. Once the adhesive has cured completely into a hard, structural matrix, the inner mold must be extracted. Using a pair of scissors, the crafter pinches the balloon near the tied end until it pops safely. With the air released, the deflated rubber balloon and the surrounding layer of cling wrap can be gently pulled out through one of the larger gaps in the yarn lattice.
Safety considerations remain paramount, particularly when children participate in the crafting process. Uninflated or popped balloon fragments present a serious choking hazard for young children, meaning close adult supervision is required, and an adult should always handle the final popping and removal of the balloon components. Despite these precautions, the activity offers significant engagement for younger family members, who often delight in tactile tasks such as mixing the adhesive or helping coat the forms.
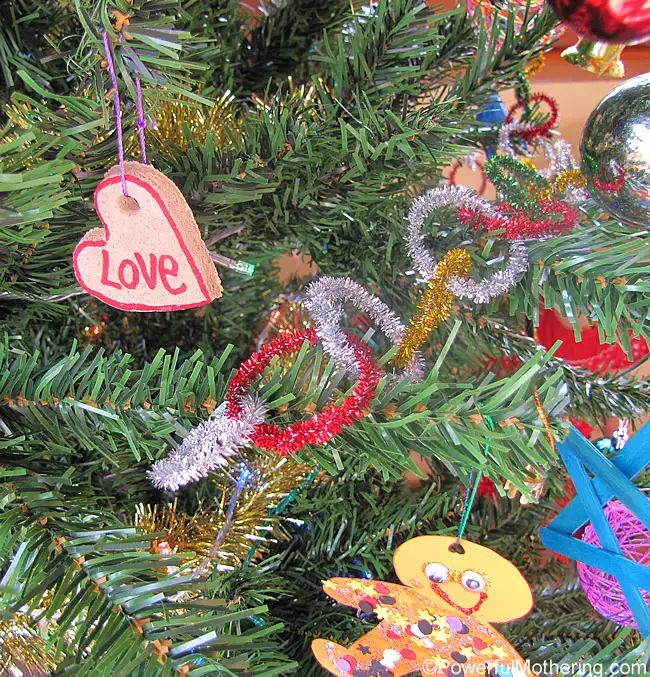
To complete the ornament, a fresh loop of thread or matching yarn is threaded through the lattice structure, transforming the hardened sphere into a hanging decoration ready for the branches. The resulting ornaments offer a homemade charm that complements other handmade holiday projects, such as paper angels and seasonal printables, contributing to a cohesive and deeply personal holiday display that families can enjoy year after year.